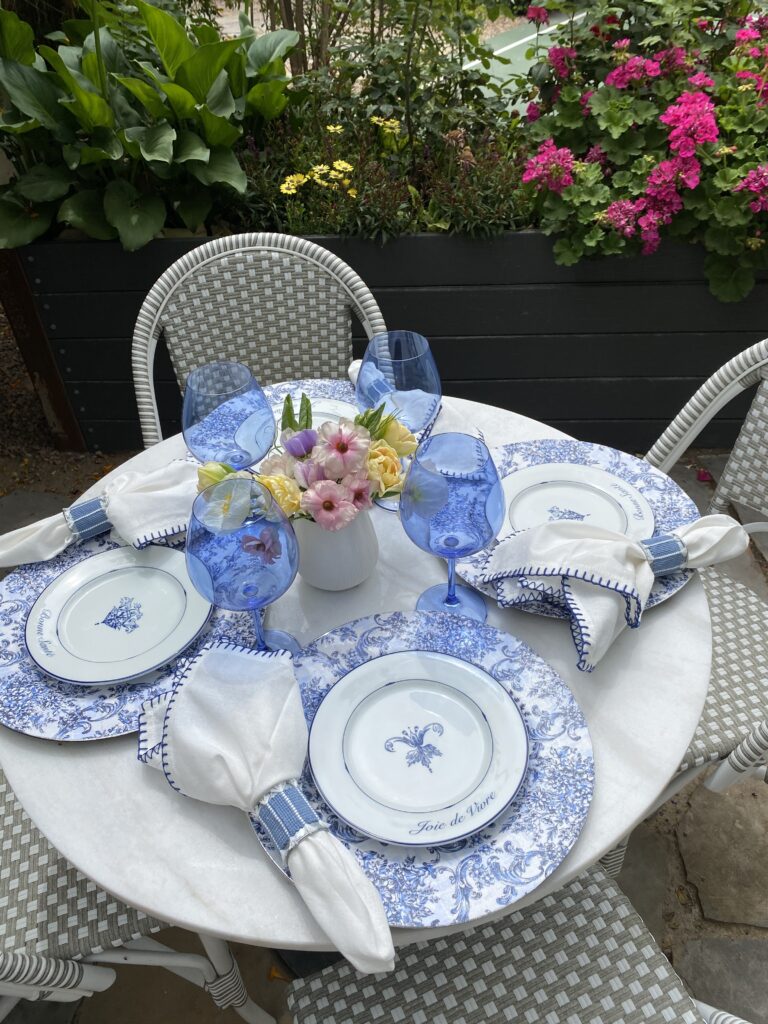
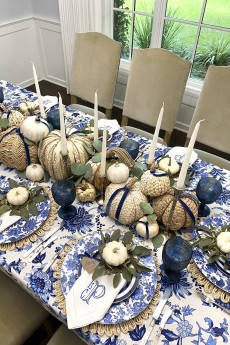
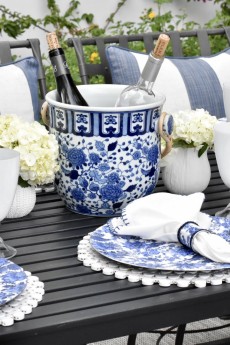
A few months ago I was in the mood for a blue and white tablescape but couldn’t find any placemats or chargers I wanted to use, so I decided to try my hand at making my own and came up with an idea for a DIY fabric charger. I absolutely love how these turned out and think they give instant glamour and panache to any place setting. This can be used year-round – I’m even planning on using these for my Thanksgiving dinner table!
One of the best parts is that you really don’t need a lot of artistic talent to make these. Another bonus? Because these have so much detail and pattern, any table linens become optional as these can absolutely stand out on their own. This translates to one less step to help to make entertaining that much easier – and I’m all for that!
The classic blue and white floral print lends itself to a summer table as much as it does to a holiday table, which makes these super versatile and able to be utilized year-round – something I look for when adding to my entertaining arsenal. But the possibilities really are endless when it comes to the fabric you choose – there are so many options for color palettes, prints and patterns! I found the fabric I used for these DIY fabric chargers at Hobby Lobby.
I’ve teamed up with a few talented friends to bring you even more ideas for some fun DIY Thanksgiving decor projects – check out the bottom of this post to see them and grab links to their posts!
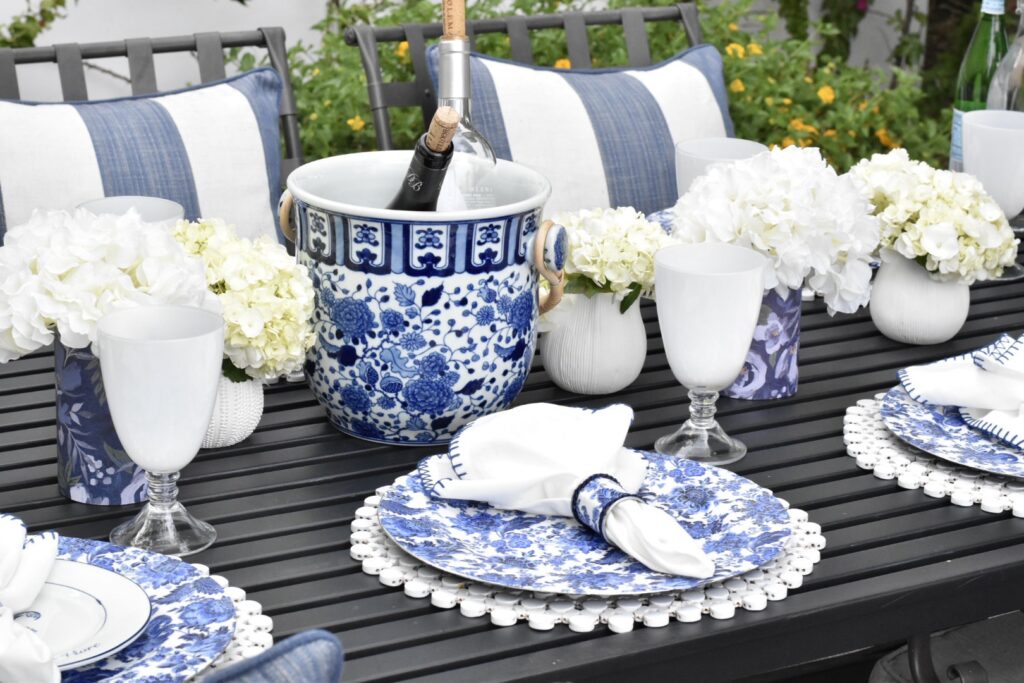
Here’s what you need to make your own DIY fabric chargers:
- Plastic Chargers. Here are the ones I purchased – it’s important to look for chargers with a smooth texture and edge.
- Fabric. Plan on being able to make 6 chargers per yard of fabric. I chose a thinner cotton fabric with a lot of print and pattern so that any irregularities in the application process aren’t obvious, the glue glides on better and is able to be stretched out to avoid ridges and bubbles.
- Modge Podge. I like the matte finish.
- Paint brushes.
Directions:
- Turn the charger over and trace around it on the backside of the fabric with a pencil or something that doesn’t bleed through.
- Using sharp fabric scissors, cut out fabric.
- Paint a thin layer of Modge Podge onto the charger.
- Carefully lay fabric on charger, starting at one side, smoothing out towards the edges. Let dry, preferably outside in the sun for at least 30 minutes.
- Trim off any excess fabric from the edges and place another thin layer of Modge Podge onto the fabric. Let dry for at least 30 minutes.
- Repeat Modge Podge and drying process 3 more times, for a total of 5 coats.
- Curing process takes 4 weeks until tackiness subsides.
A note on how to store and care for these:
- Spot clean – do not submerge in water.
- Store in a cool, dark place away from sunlight.
- Thin sheets of packing foam in between the chargers will help keep them from sticking together.
Here’s a tutorial video showing how I made these:
I sure hope you liked seeing how I made these – I had such an amazing response when I first posted these chargers. If you’re interested in more DIY projects for entertaining pieces – here’s my post on how I made personalized monogrammed napkins!
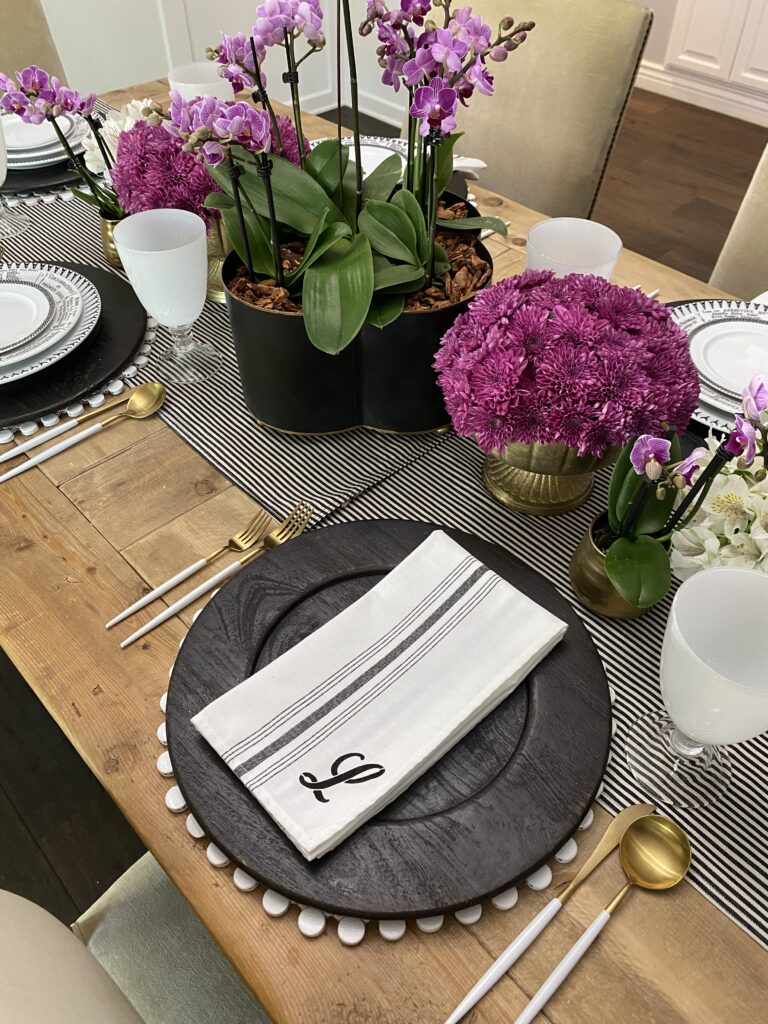
See below for my friends’ posts on their fun DIY projects for Thanksgiving!
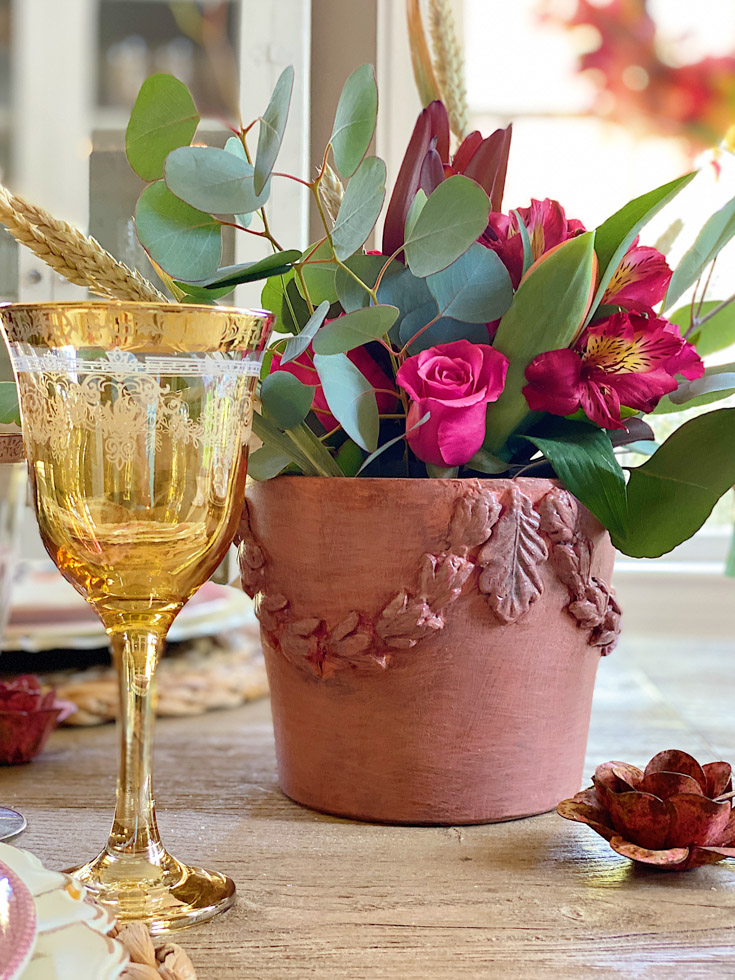
The Best Ceramic Planter DIY | My 100 Year Old Home
It amazes me that I can start with a terracotta pot, add some moulded clay and a few coats of paint, and end up with the best ceramic planter.
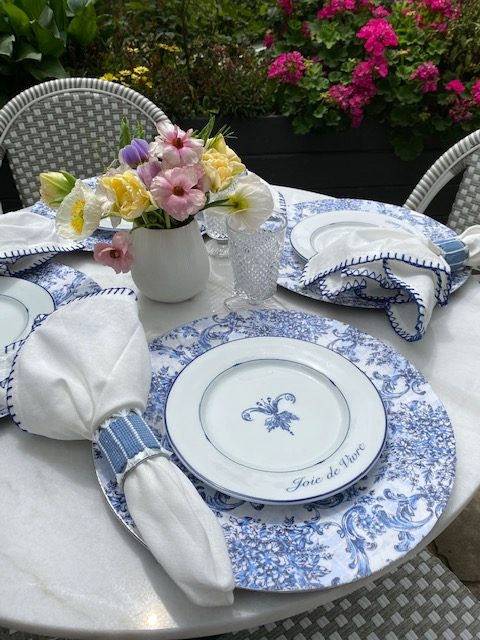
Here’s How to Make Your Own DIY Fabric Chargers | To Have + To Host
A few weeks ago, I was in the mood for a blue and white tablescape so I came up with an idea for a DIY fabric charger, which I’m super excited to use on my Thanksgiving table – here’s how I did it.
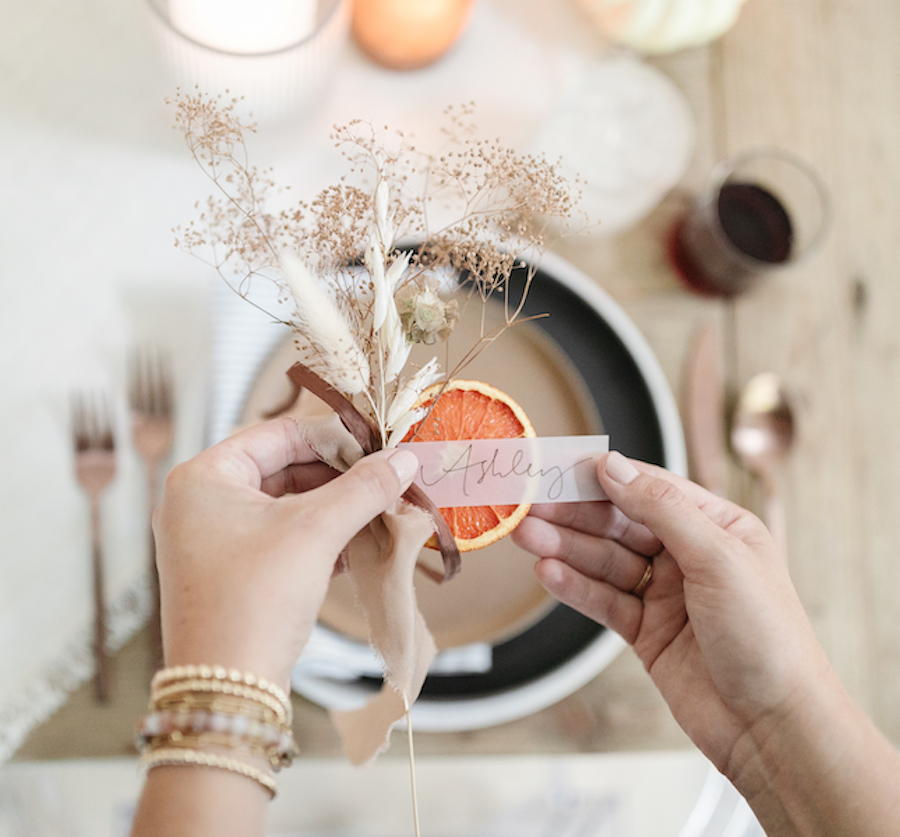
Dried Orange Thanksgiving Place Cards | Modern Glam
These DIY Dried Orange Thanksgiving Place Cards are a beautiful way to add character and personalization to your holiday table. Learn how to make them with me!
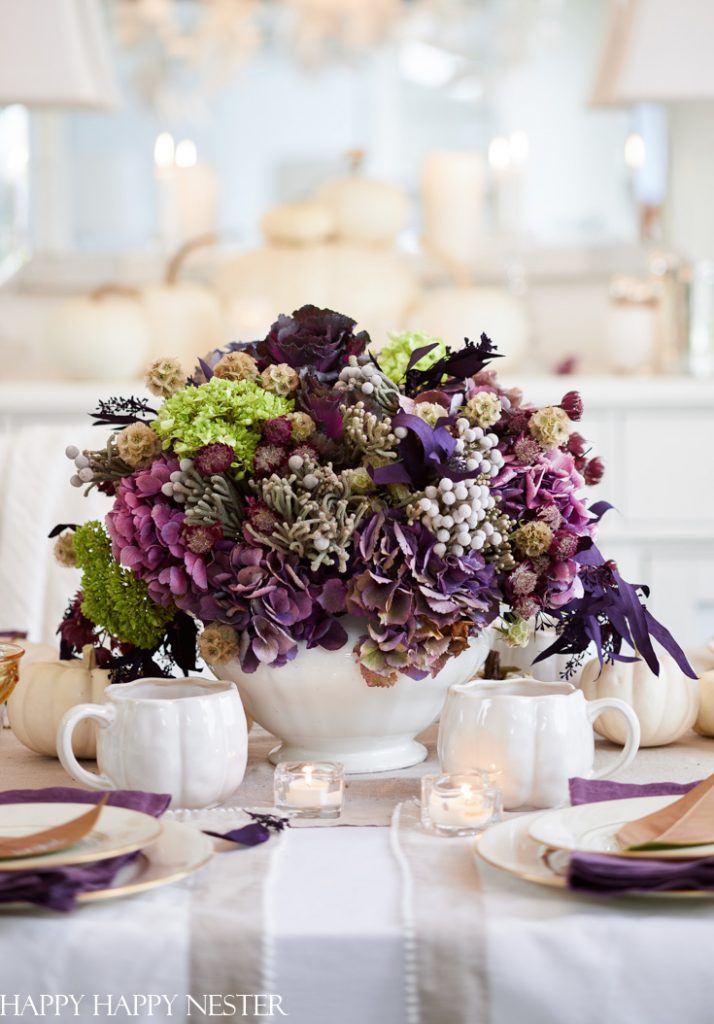
Farmhouse Fall Centerpiece DIY | Happy Happy Nester
Here’s an unusual twist on a Farmhouse Fall Centerpiece. This gorgeous bouquet includes the rich color of purple flowers. I’ll show how I designed this floral arrangement step-by-step.
Very beautiful and different for the usual Fall decorations. I love love it. You are so very talented. Also like the chargers that were made. My favorite color is blue so need to try to make these. You are my favorite site as it is always full of beautiful things you have made or post something someone else has made. Enjoy the Wednesday post with all the different shops we order from. Blessings, Mary
Hi Mary! Thank you so much for that! Always appreciate the kind words. I hope you make these – I’ve really enjoyed mine! Lory