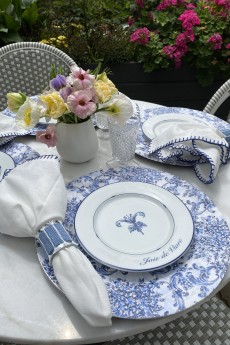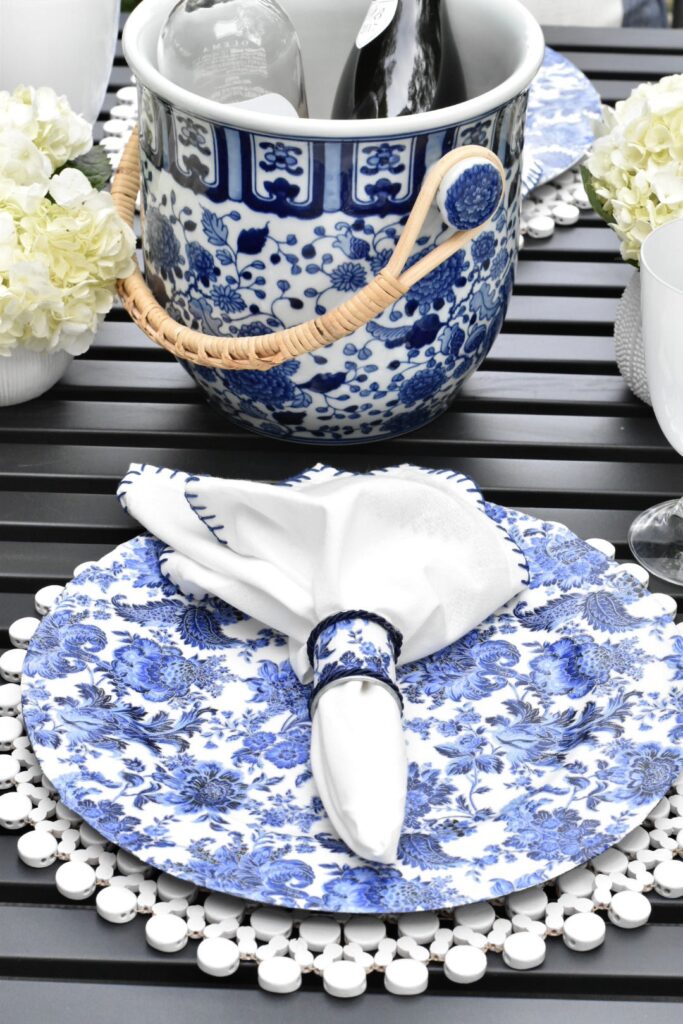
There’s just something about making your own decor that is so satisfying. I love finding projects and easy crafts that I can do, mostly even with items I already have in my own home. And if I can add to my entertaining arsenal, especially my table top decor, I’m in! That’s exactly what I set out to do when I made these DIY napkin rings. I’m excited to show you how I did this and how simple it is to put together.
Using your favorite fabric, some plain napkin rings and a few craft supplies, it’s easy to customize these DIY napkin rings for your own table decor.
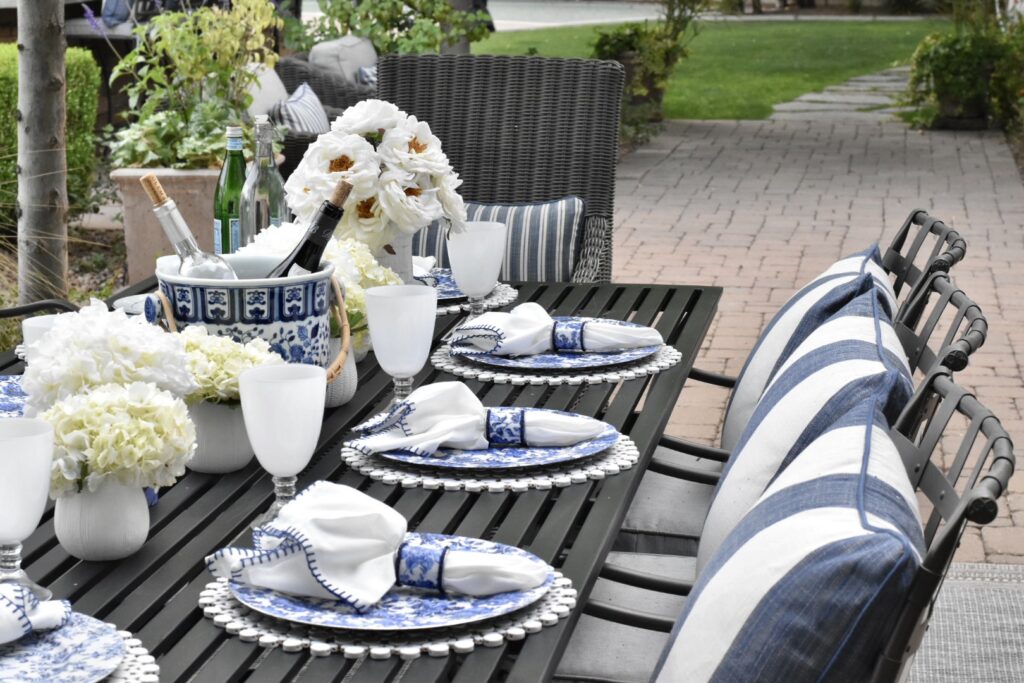
If you’d like to see my Instagram video tutorial, click here:
Here’s what you need:
- Fabric (Love this blue and white pattern)
- Upholstery Trim (for a finished look)
- Napkin rings (These are what I used for this project)
- Glue Sealer (I like this brand)
- Hot Glue Gun
- Paint brushes
Directions for DIY Napkin Rings:
- Start by trimming your fabric to the size of your napkin ring. Overlap by 1/4” to ensure full coverage.
- Paint glue over surface of napkin ring, then smooth fabric over the glue.
- Use 2-3 coats of the glue sealer, waiting sufficient time for each coat to dry.
- Cut the upholstery trim to fit each border of the napkin ring and secure with a hot glue gun.
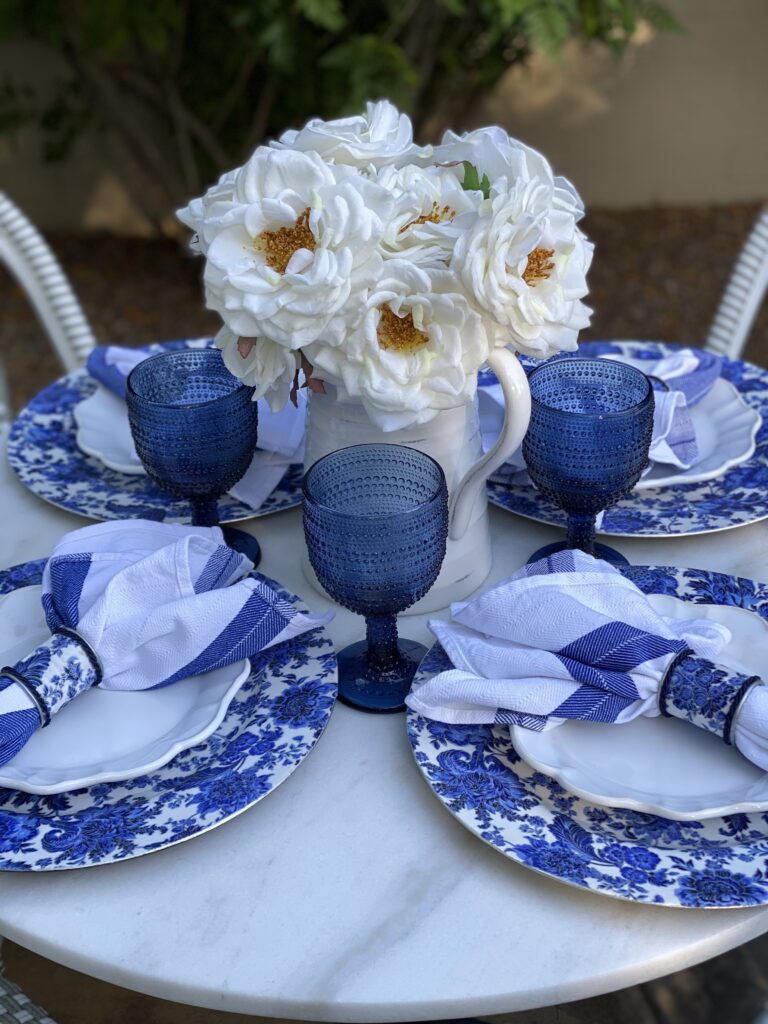
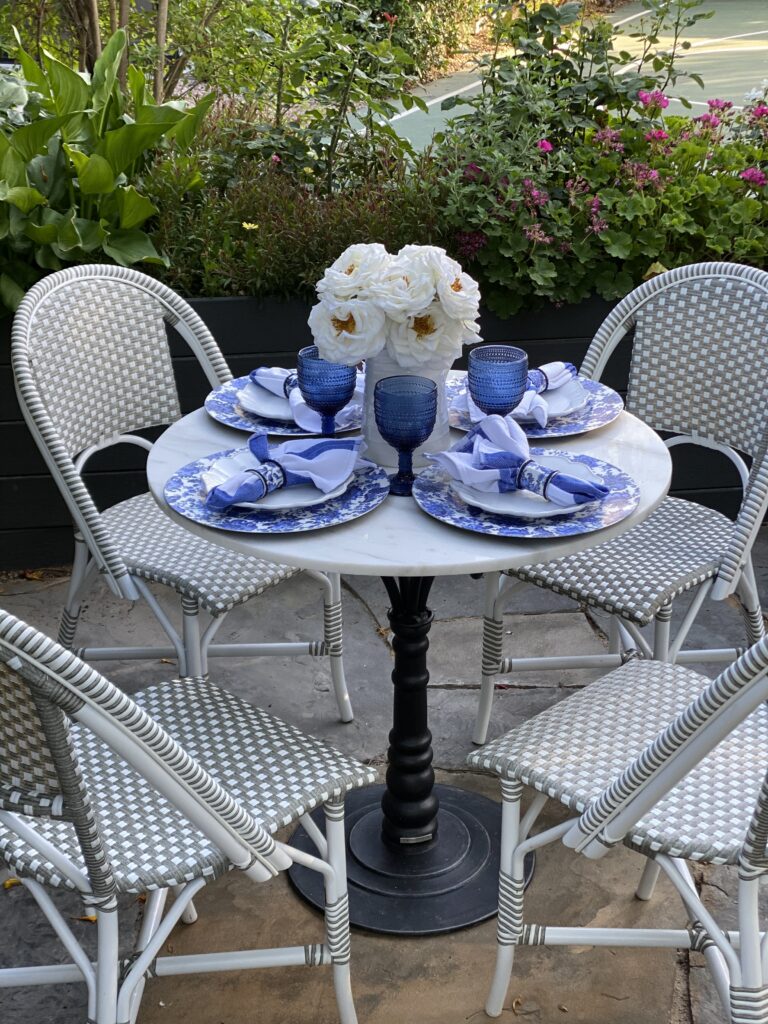
If you like the look of these napkins rings and enjoy DIY projects, check out how I made my own DIY fabric charger plates here!
